RSVPify: Put the RSVP Form on a Page
Applies to: PowerTools Suite & Conversion Deck
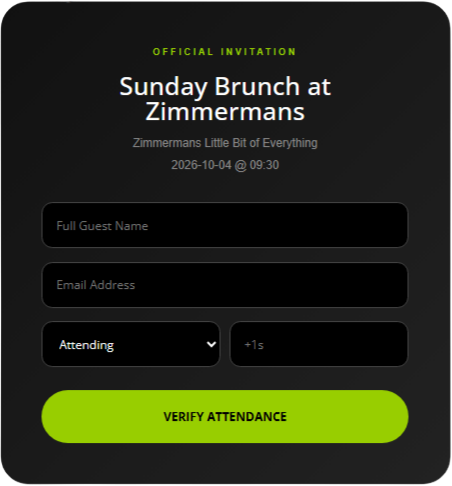
RSVPify shows your event details and an RSVP form on a page. Guests get a confirmation ID, and you manage the guest manifest in admin, including check-in at the door and CSV export.
Step-by-step
Put the RSVP form on a page
- Edit the page in the Divi 5 Visual Builder.
- Insert the RSVPify module.
- Place the module where you want the RSVP form. In the Visual Builder the module shows a placeholder box. The real event details and RSVP form show on the live page.

- Type the exact event key into the module's Event ID field, for example
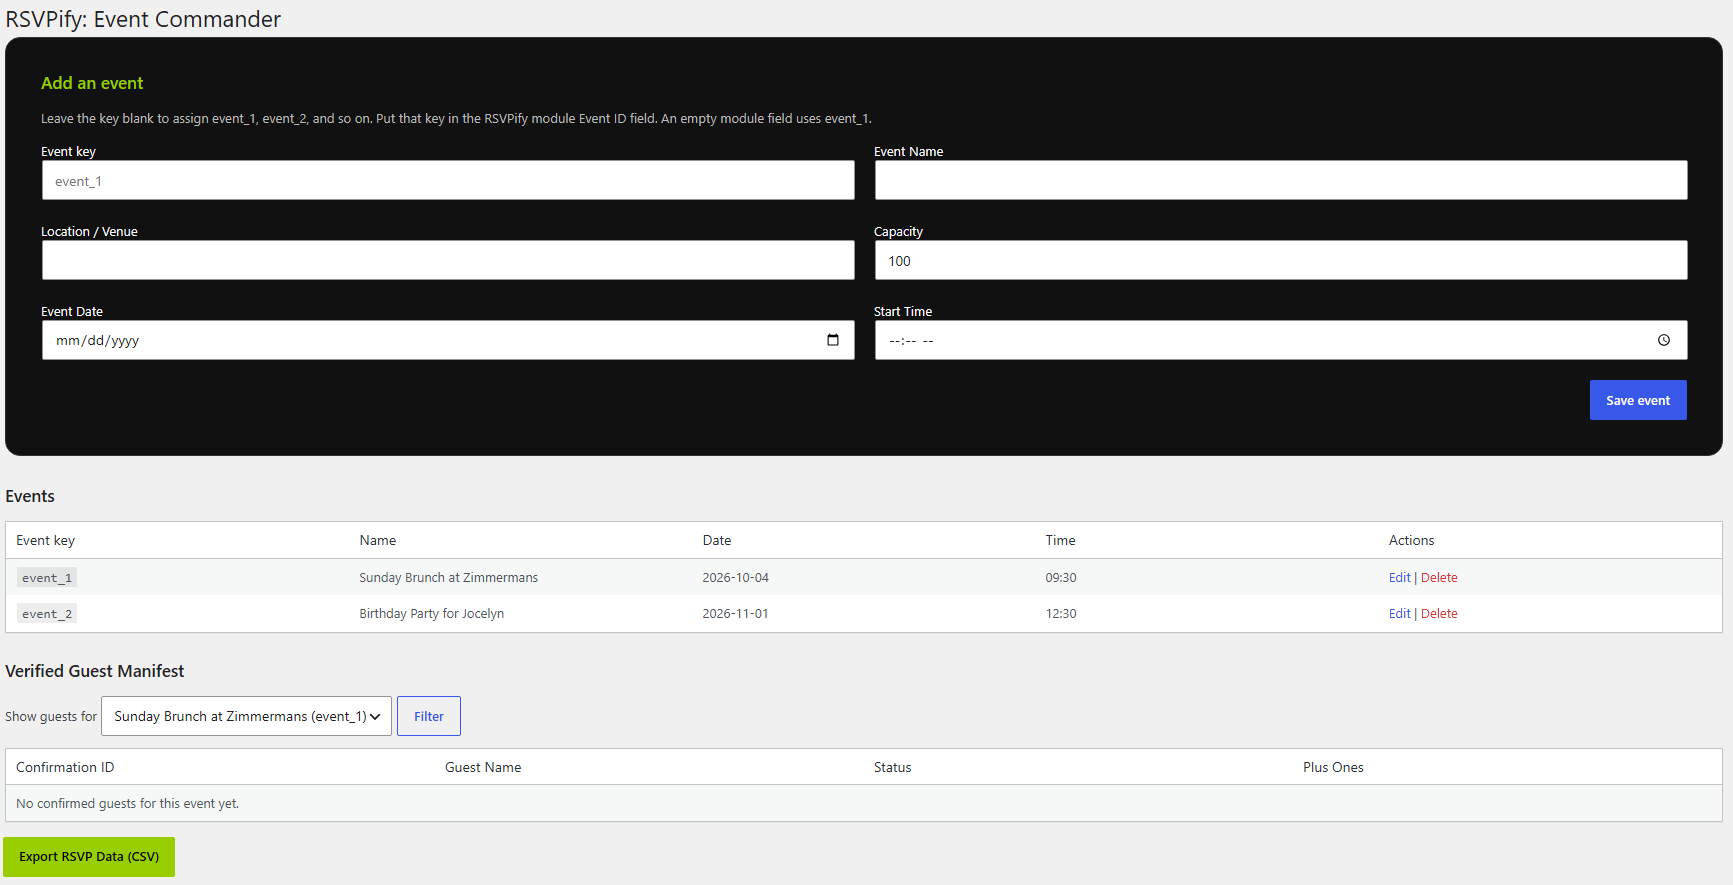
event_2. You'll find the key in the Events table under PowerTools Suite → RSVPify. If you leave it blank, the module usesevent_1. The title and the Show Email Field switch are optional.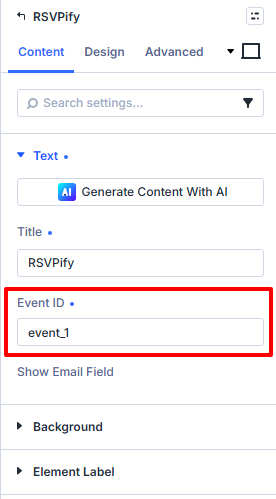
- Save and view the page.
Typing just 1 does not mean event_1, even though the Visual Builder preview says "Event #1". If the key is wrong, the form is headed No event saved for "x", and submitting it says the event is not taking RSVPs.
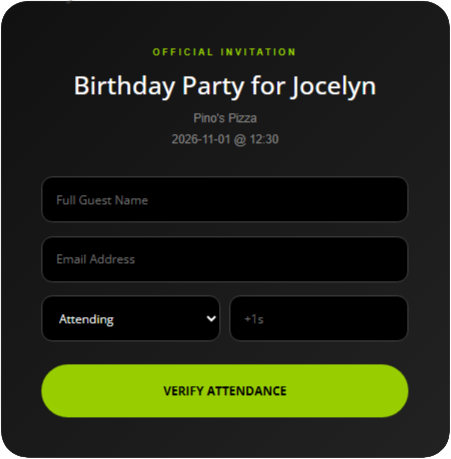
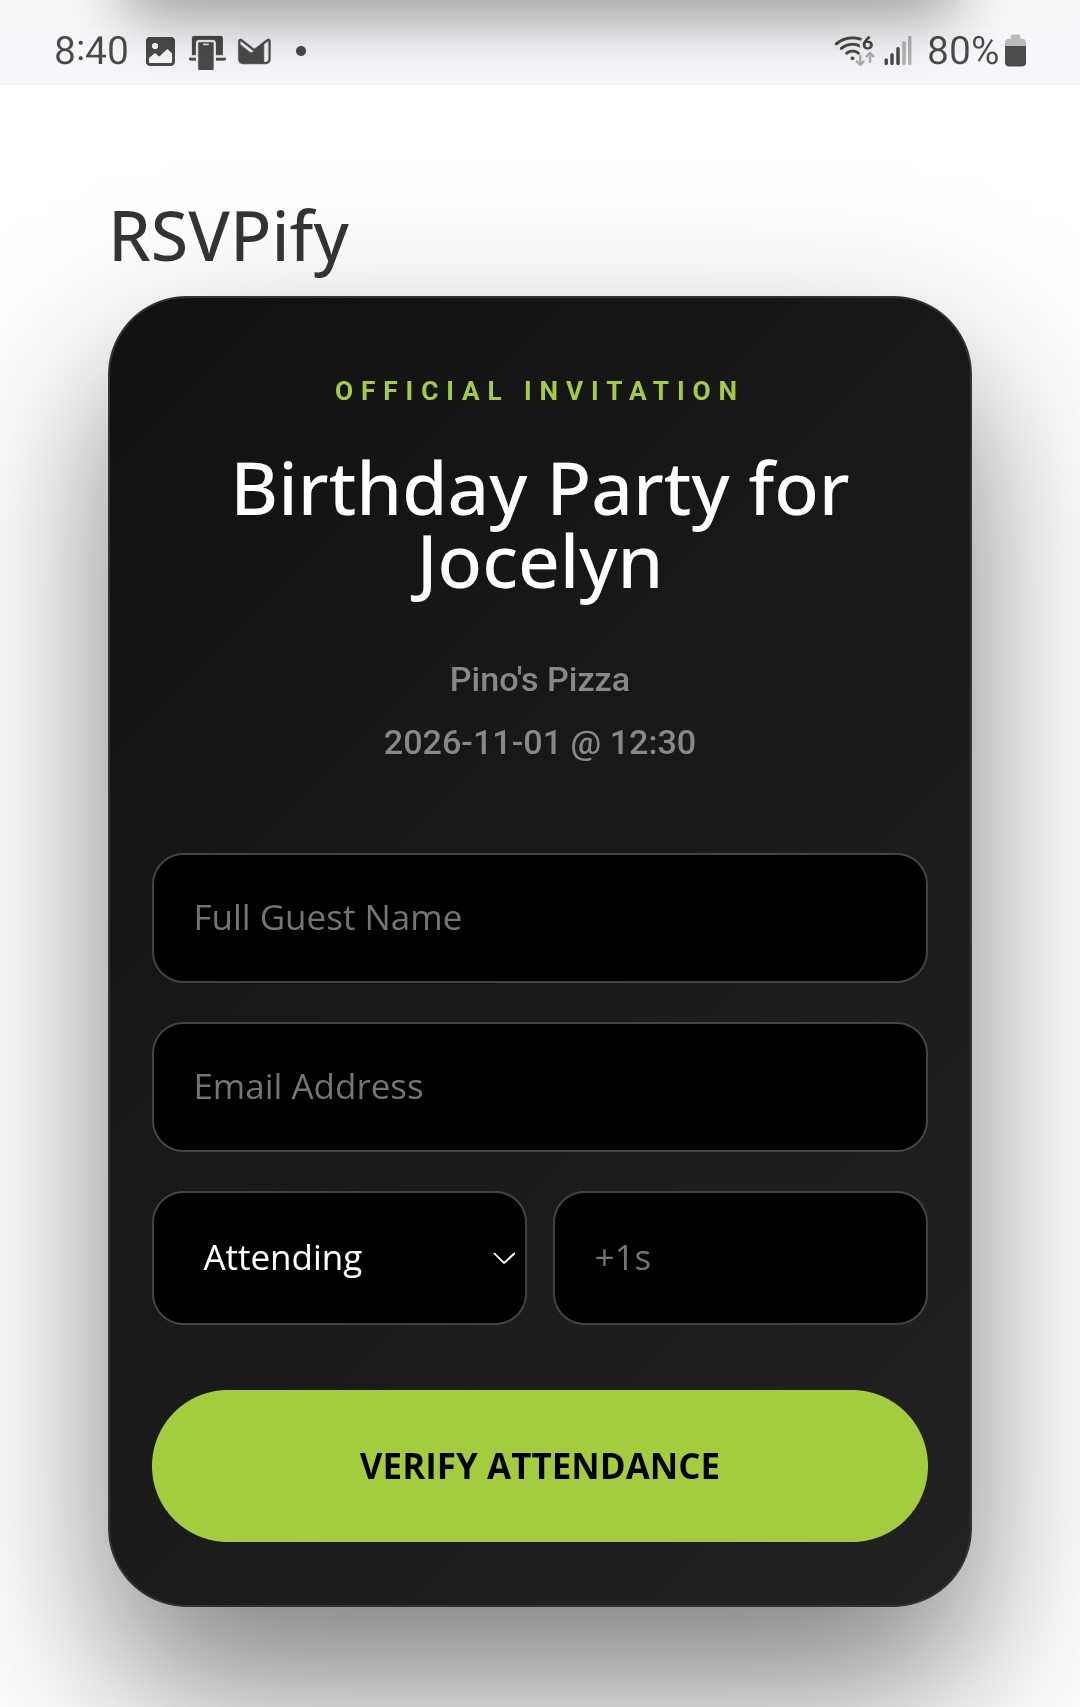
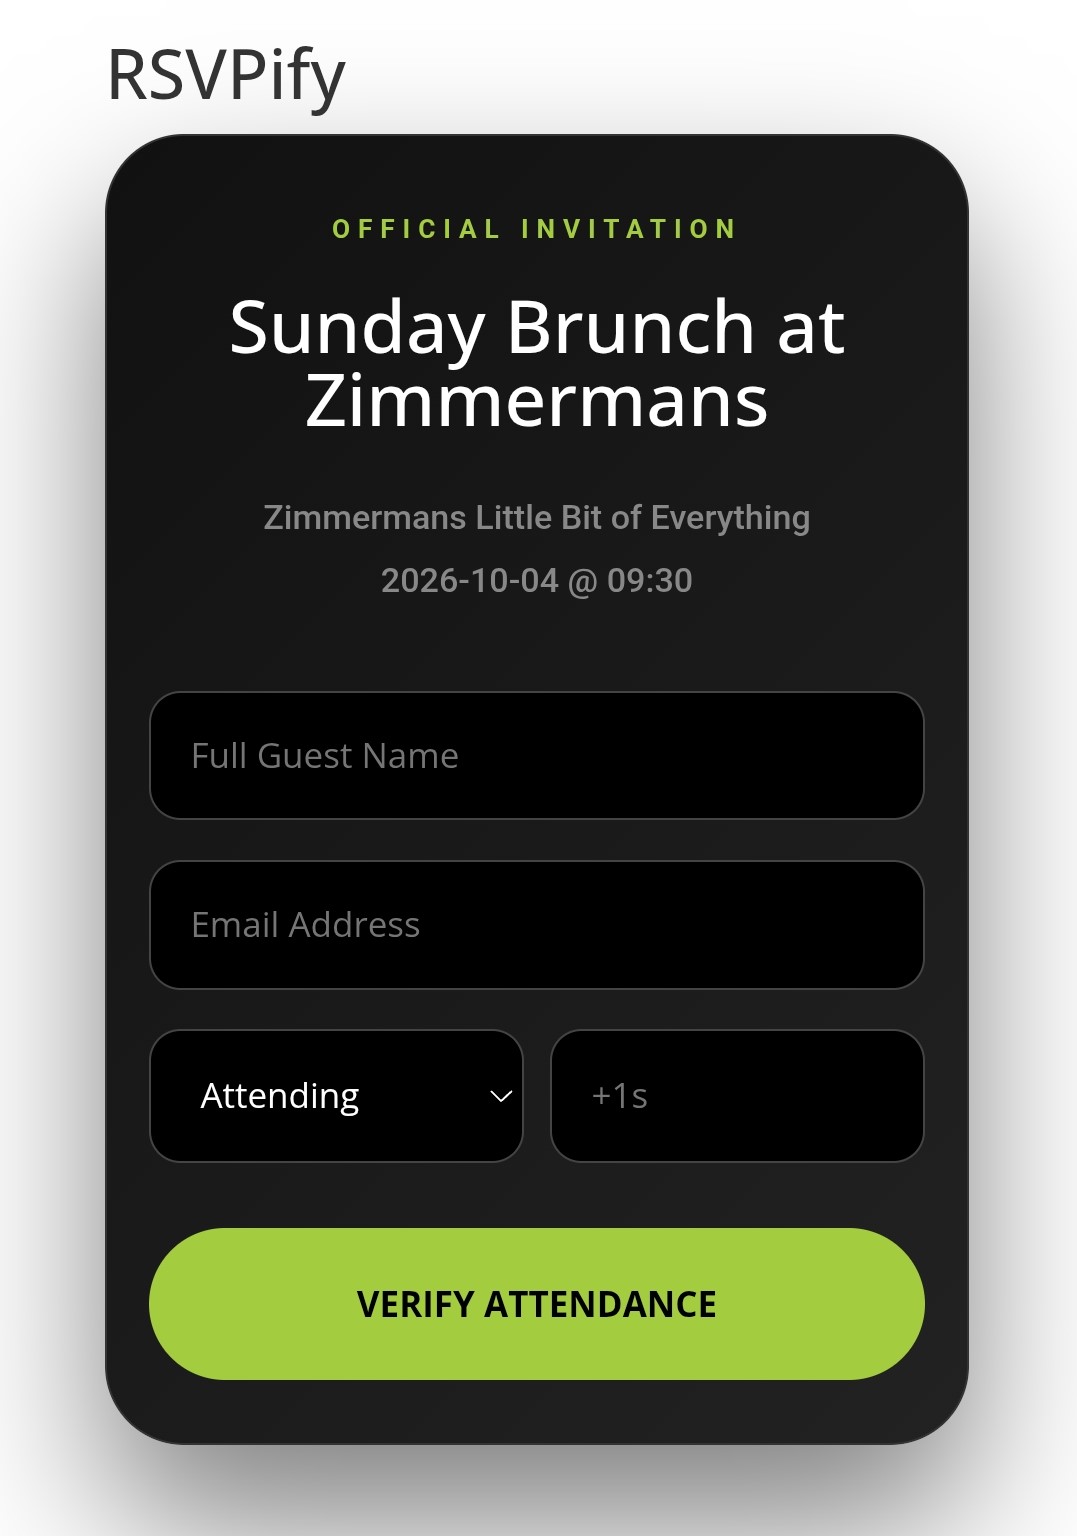
Visitors enter their name, email (optional), yes or no, and number of plus-ones, then submit. They see a confirmation ID like DPS-12345.
Test it
- Submit a test RSVP on the page.
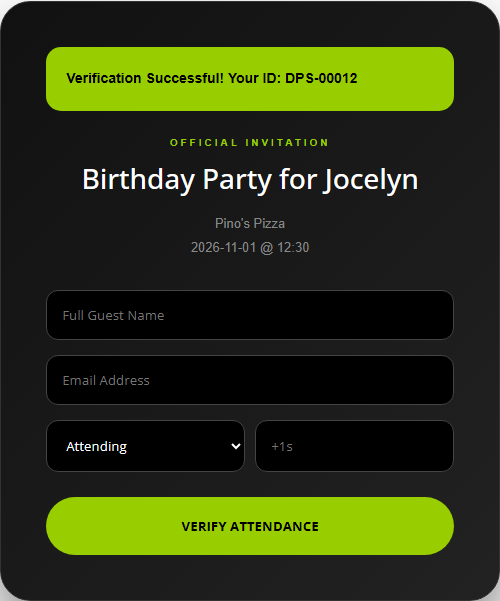
- Go to PowerTools Suite → RSVPify, choose the event under Show guests for, and click Filter. Your RSVP appears in the Verified Guest Manifest.
- Confirm your row and confirmation ID appear.
Tips & things to know
- Form colors and fonts follow your Divi globals through our SafeColor Engine.
What it does not do
- It does not sell tickets or take payment.
- It does not work with Divi 4.